Basics of HPLC
The injector
The injection is an important step in chromatography. As its name suggests, the aim is to inject the sample to be analyzed into the HPLC system.
Generally speaking, two injection systems will be available, either a manual injection, or an automatic one.
In HPLC, whether the injection is manual or automatic, the injection is performed with an injection loop that must be filled and then injected into the system. The volume of the injection loop plays a major role in the volume of sample injected. On a general basis, injection loops vary from 1 to 100 µL.

Automatic or manual injection?
+ Sequence programming (several consecutive injections without the user’s intervention)
+ Possibility of programming automatic dilution or derivatization
- Requires organizational rigor in the preparation of the sequence
- Sample storage for long sequences (requires a refrigerated compartment)
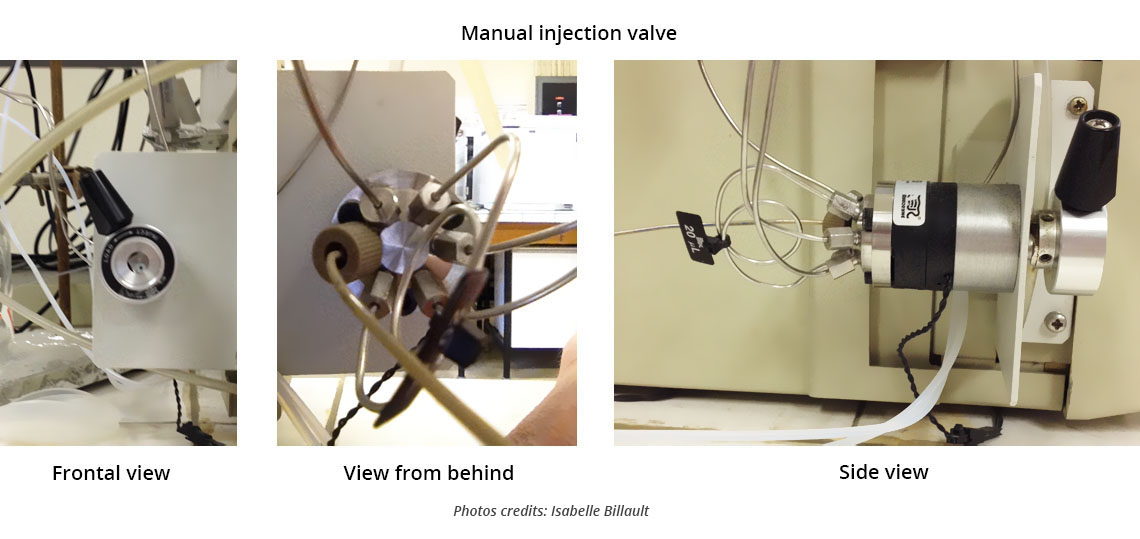
As its name suggests, the manual injection involves the user’s manipulation to inject the sample into the loop, often with the help of a syringe. Then the valve is shifted to injection mode (see below). There are two ways to shift the valve:
- If the valve is manually operated, it is shifted by pivoting the valve from the “load” position to the “inject” position (see below). CAUTION: in this case, make sure that the valve shift corresponds to the initiation of the analysis (time setting at 0) by activating it in the instrument’s software.
- If the valve is electronic (electrovalve), then the shift is automatic and controlled by the instrument’s software, which calibrates the start of the injection.

How does the injection work?
Whether the injection is automatic or manual, it is always carried out in the same way and is usually controlled by a generally electronic valve (electrovalve) which allows the circulation of fluids in the injection system to be changed so that it can in turn fill up the injection loop and inject its contents into the column. The majority of electrovalves used in HPLC have 6 lines and can be switched to two positions:
- Loop loading position called “load”
- Column injection position called “inject”
“Load” position
In this position, the syringe is connected to the loop and then to the bin, allowing the loop to be completely filled with the sample (see video).
During the filling of the loop, the pump is directly connected to the column which allows the mobile phase to circulate before the injection.
Caution: a volume equal to at least 5 (if not 10) times the volume of the injection loop must be loaded to make sure the loop is filled homogeneously with the sample!

“Inject” position
In this position, the loop is connected to both the pump and the column. Thus, by circulating the mobile phase through the loop, the sample is pushed into the column where the compounds are separated.
During the injection, the syringe is connected to the bin for rinsing. Rinsing the syringe between two injections is essential to prevent cross-contamination between two consecutive samples.


