How do you use a pH meter?
Measurement guide
Preparation
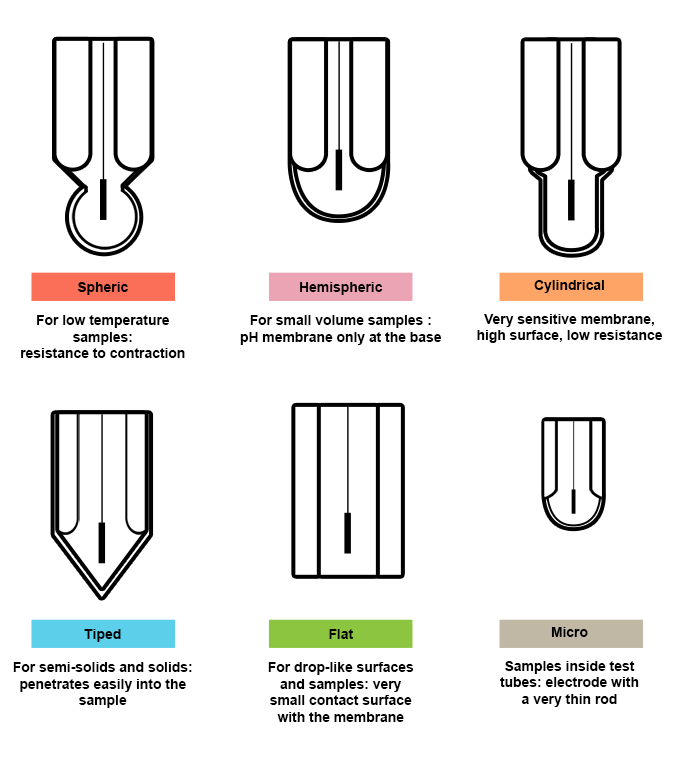
1) Choose the appropriate electrode for your sample.
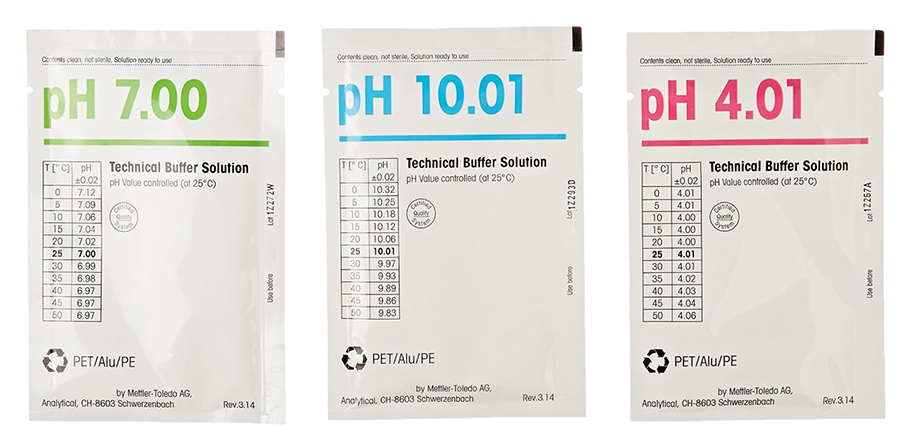
2) Select the appropriate buffer solutions for the calibration.

• Technical buffer solutions
With quality control certificate
• Certified buffer solutions
DKD-K-47901Or
NIST/DIN 19266
Note: The use of standard solutions manufactured by a certified laboratory provides a total and recognized guarantee of the traceability chain and calculated uncertainties.
3) Check the temperature and adjust if needed.
 Some electrodes may include a thermal sensor.
Choosing your electrode
Main criteria:
- Chemical composition, homogeneity, temperature, pH range of the sample.
- Size of the container (restrictions in length and width).
Choice of membrane shape

Choosing your electrode
3 types of diaphragm
Diaphragm: opening of the reference half-element of a combination pH electrode. It is used to establish contact with the sample.
“Standard” liquid junction: ceramic diaphragm
Porous ceramic piece inserted into the glass of the electrode rod.
This porous ceramic allows the electrolyte to seep from the electrode, but prevents it from flowing freely.
 Risk of clogging
Sleeve junction or ground glass junction for viscous samples or suspensions
A larger junction clogs less readily and is easy to clean.
This liquid junction is carried out by a lapped part of the rod of the electrode on which lies a removable ground-glass or synthetic sleeve.
The electrolyte exits the electrode by an opening covered by the glass or plastic.
The sleeve can be more or less firmly applied to the lapped part of the rod in order to regulate the flow of the electrolyte.
Open liquid junction
The reference electrolyte is in direct contact with the sample solution.
This is only possible with a solid polymer reference electrolyte (gel).
The disadvantage of the solid polymer reference electrolyte is its longer response time and low electrolyte flow.


